Introduction
BounceTogether is shipped with a bunch of carefully selected surveys, which means you can assign them to your users in school straight away. If you want to run a survey with an audience that is outside of your school (e.g. parents) then you should assign a public survey instead.
Assigning a survey as described in this article can enable you to identify the responses of your users. Consequently, you will also be able to report on this by class, year and key demographics.
This article explains how you can allocate other surveys to your users.
You will have a varying number of surveys to choose from, depending on the package you are using but you will always have something to get you started.
BounceTogether CORE customers can create bespoke surveys on any subject matter that's desired!
You can allocate a survey to the whole organisation, a class or a specific user by using the Assign Survey function. The instructions that follow explain how to do this.
Preparation
- Log in to the main console as a member of staff or the administrative user
- Ensure you are on the main landing page
Assign Survey
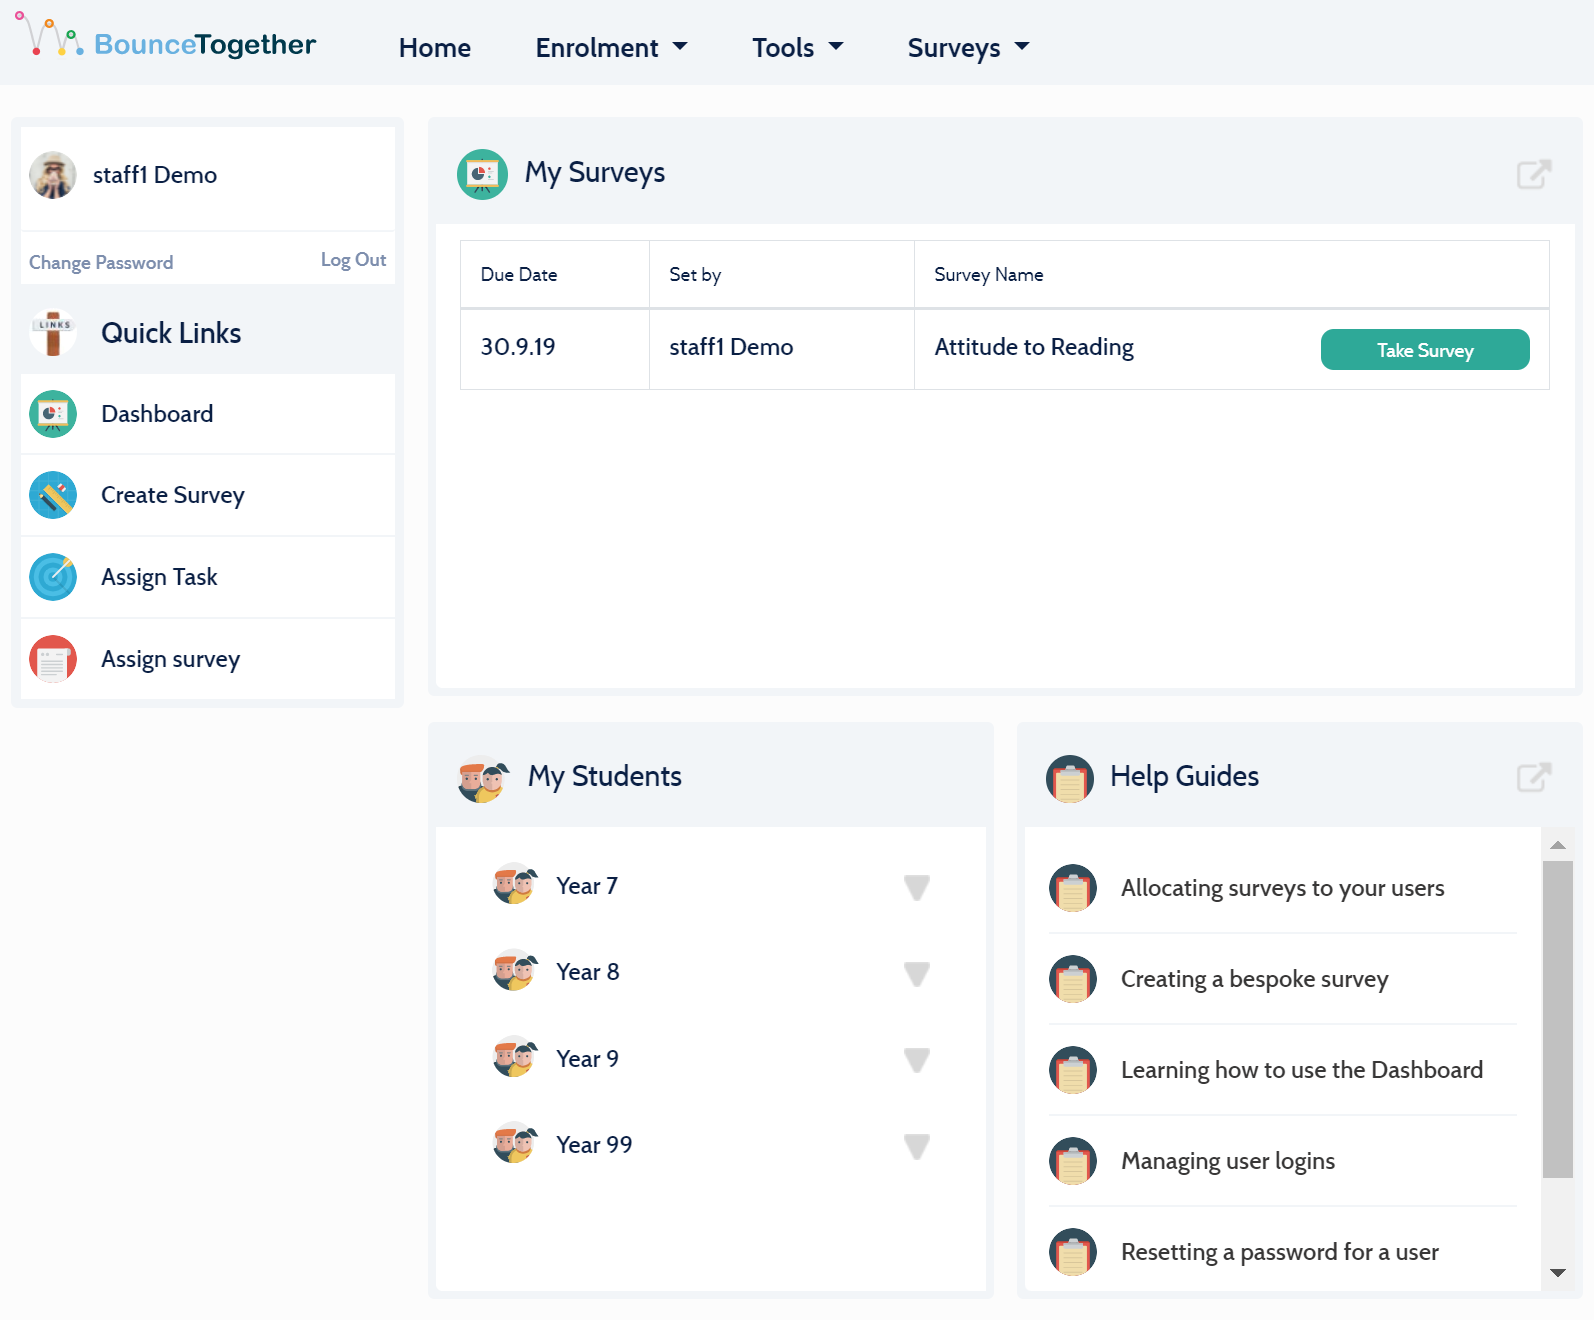
Click Tools / Assign Survey from the top menu and the Assign Survey page will display
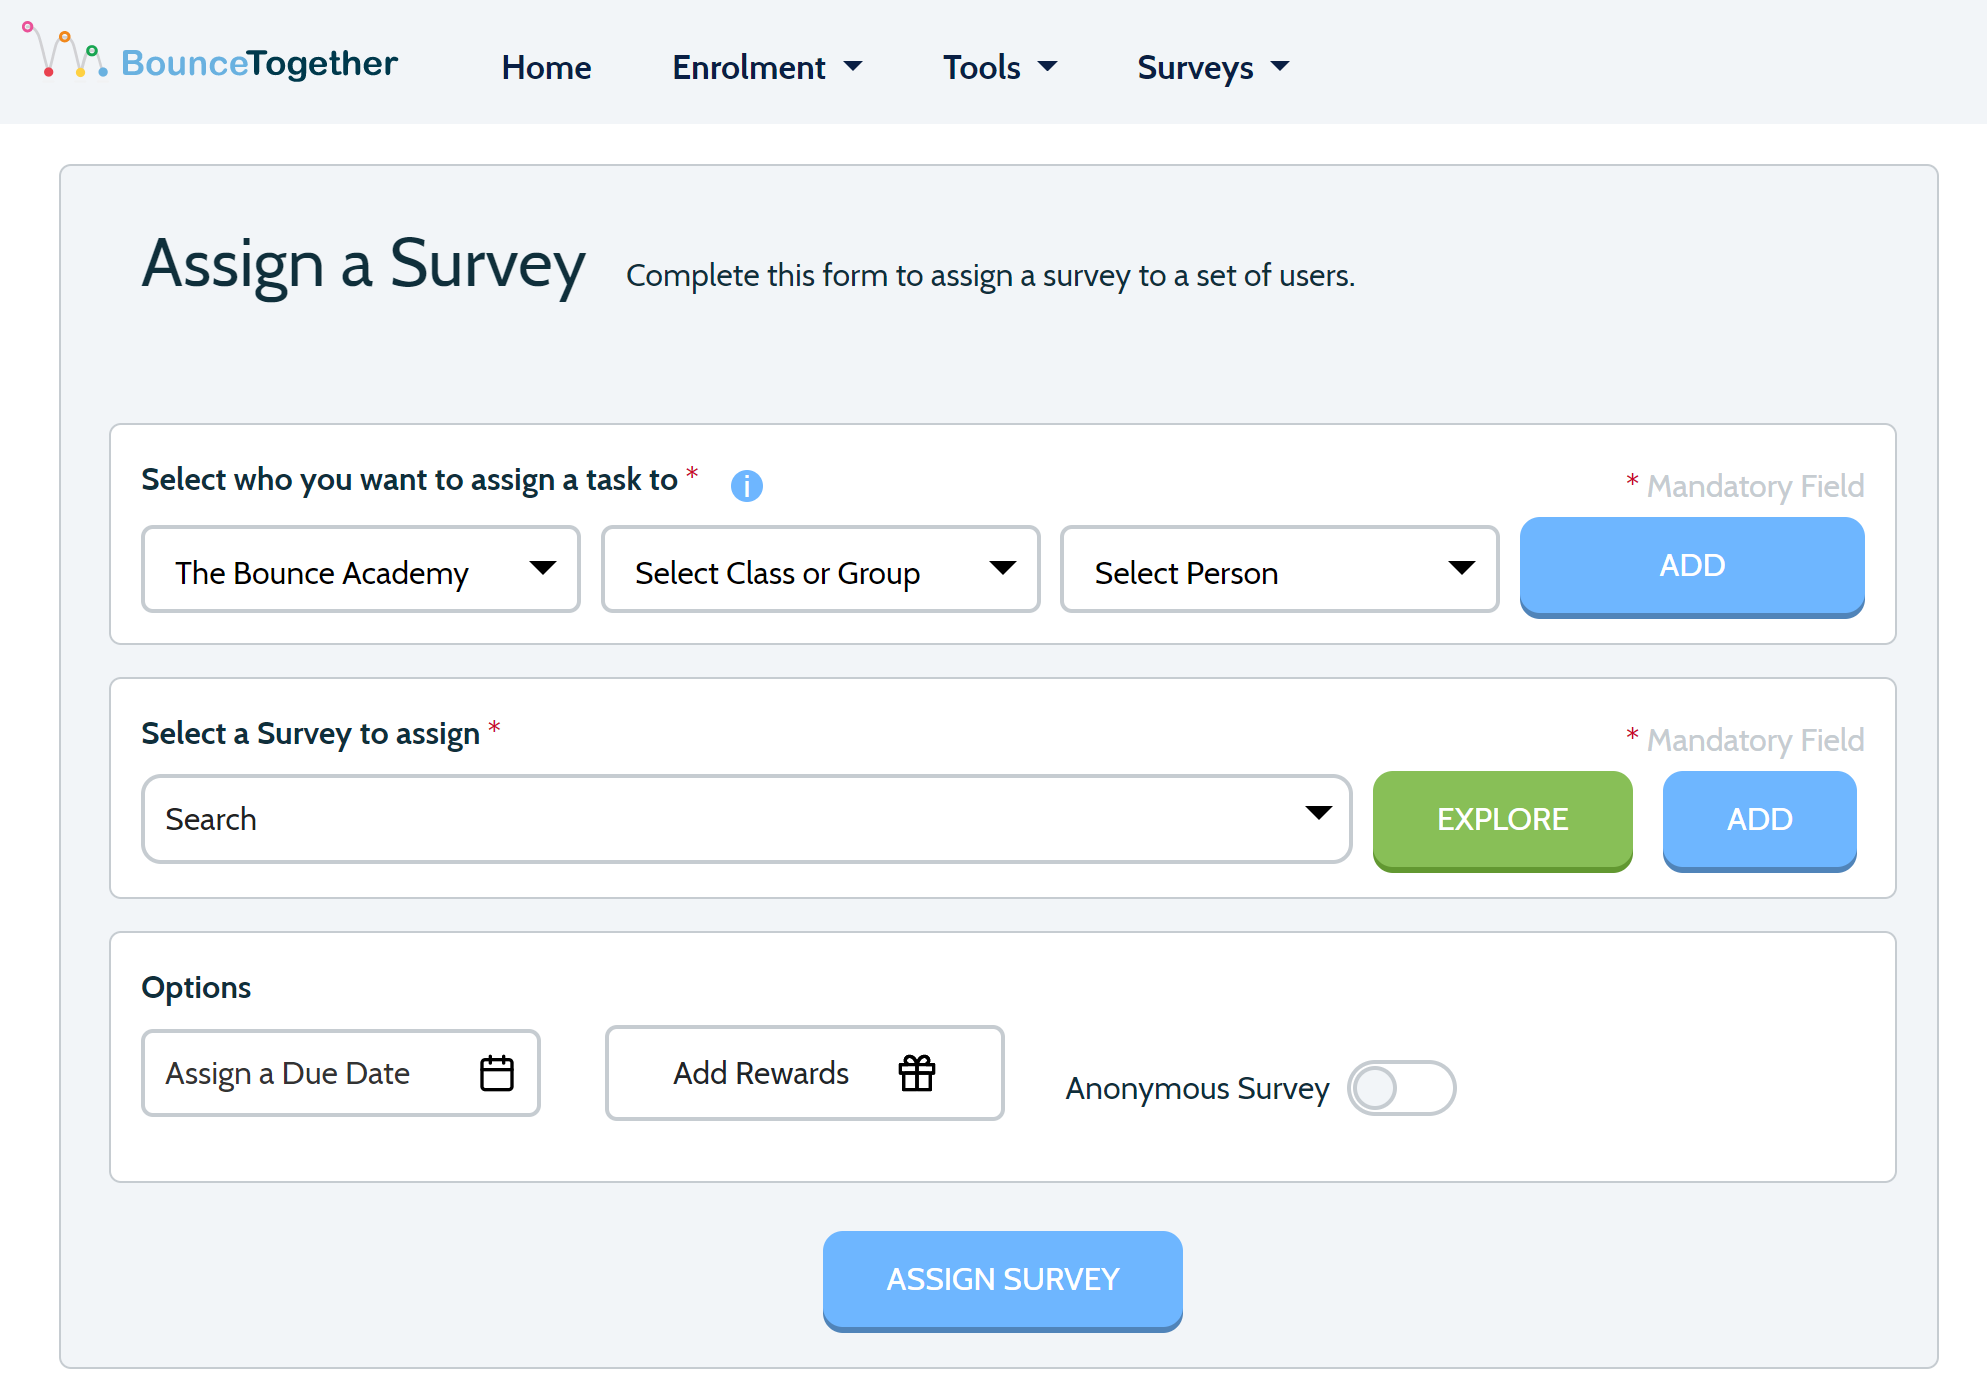
Who?
Firstly, you need to decide who you want to assign the survey to. It's really quick to do this if you want to assign the survey to your whole school - simply select the "organsation" from the
dropdown menu then click
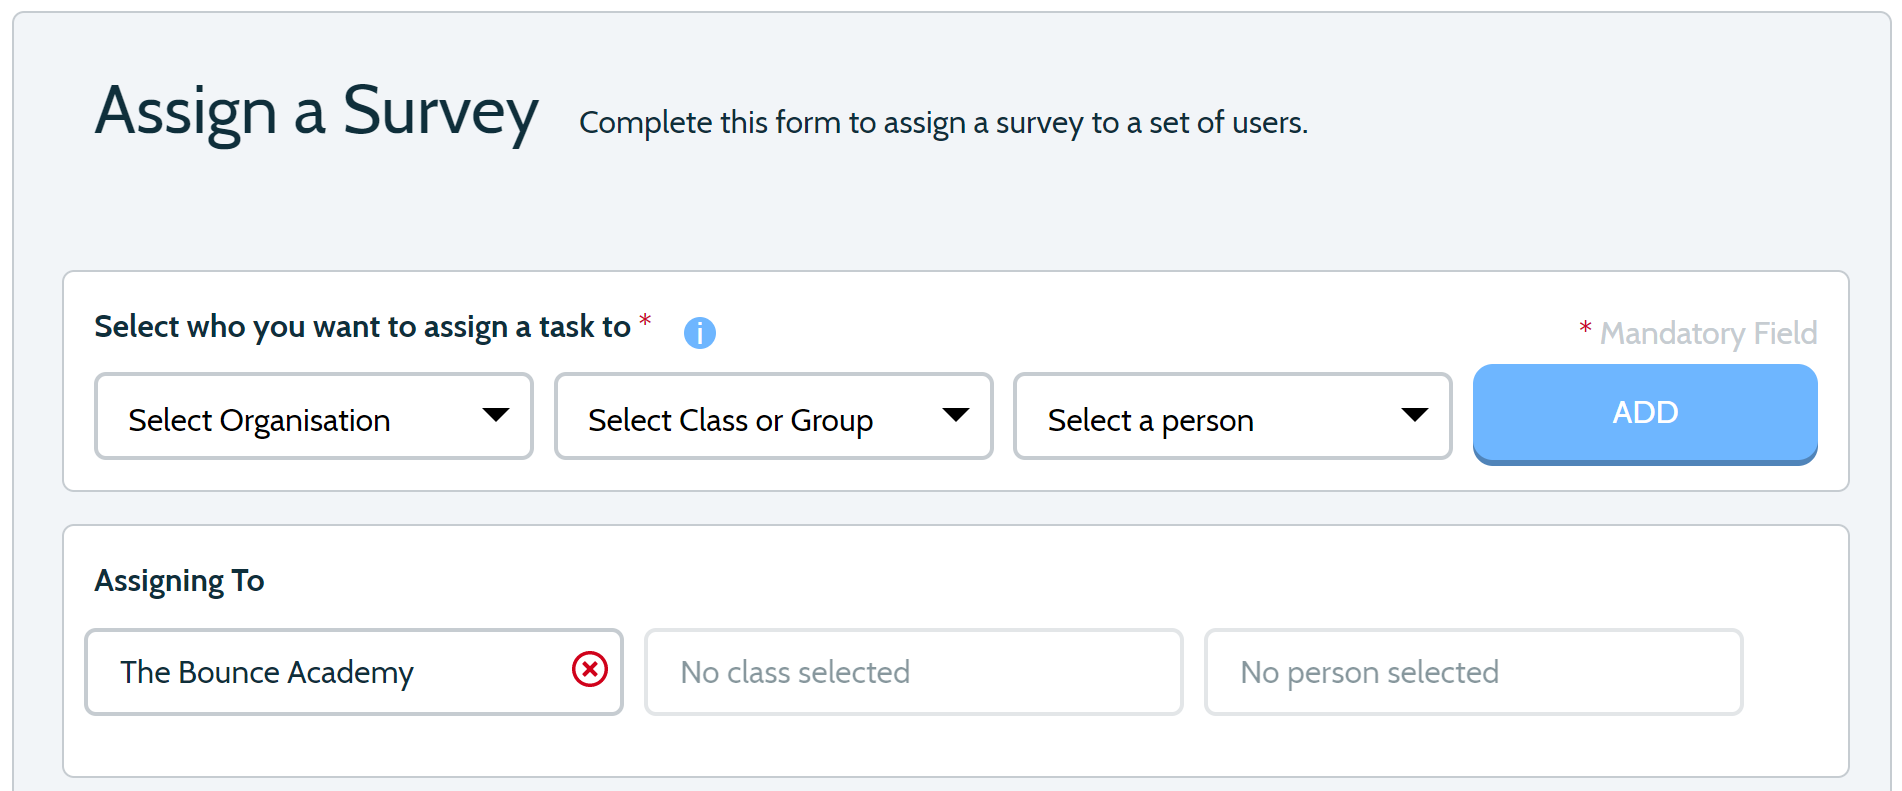
If you change your mind, you can remove the item under Assigning to by clicking the red cross icon.

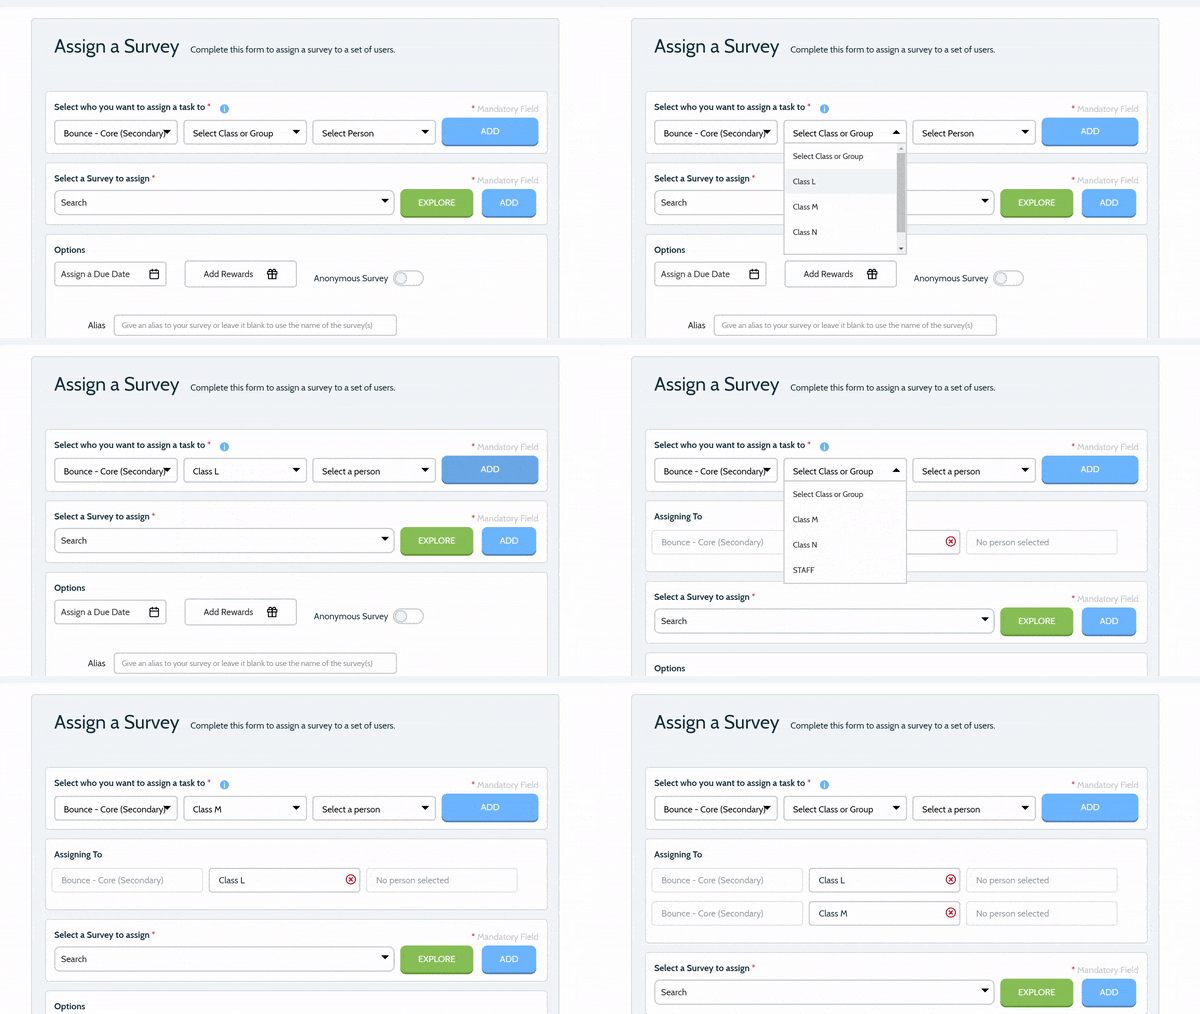
If you want to assign a survey to a number of class/groups then you can do that too. Simply choose the class from the Select Class or Group drop down
then choose then click the class followed by
The Questionniare
Next, you need to select the questionnaire you want to assign. This is a very similar process to choosing who but you are choosing the questionnaire instead. Using the Select a survey to assign drop down menu, select the survey you want to assign.
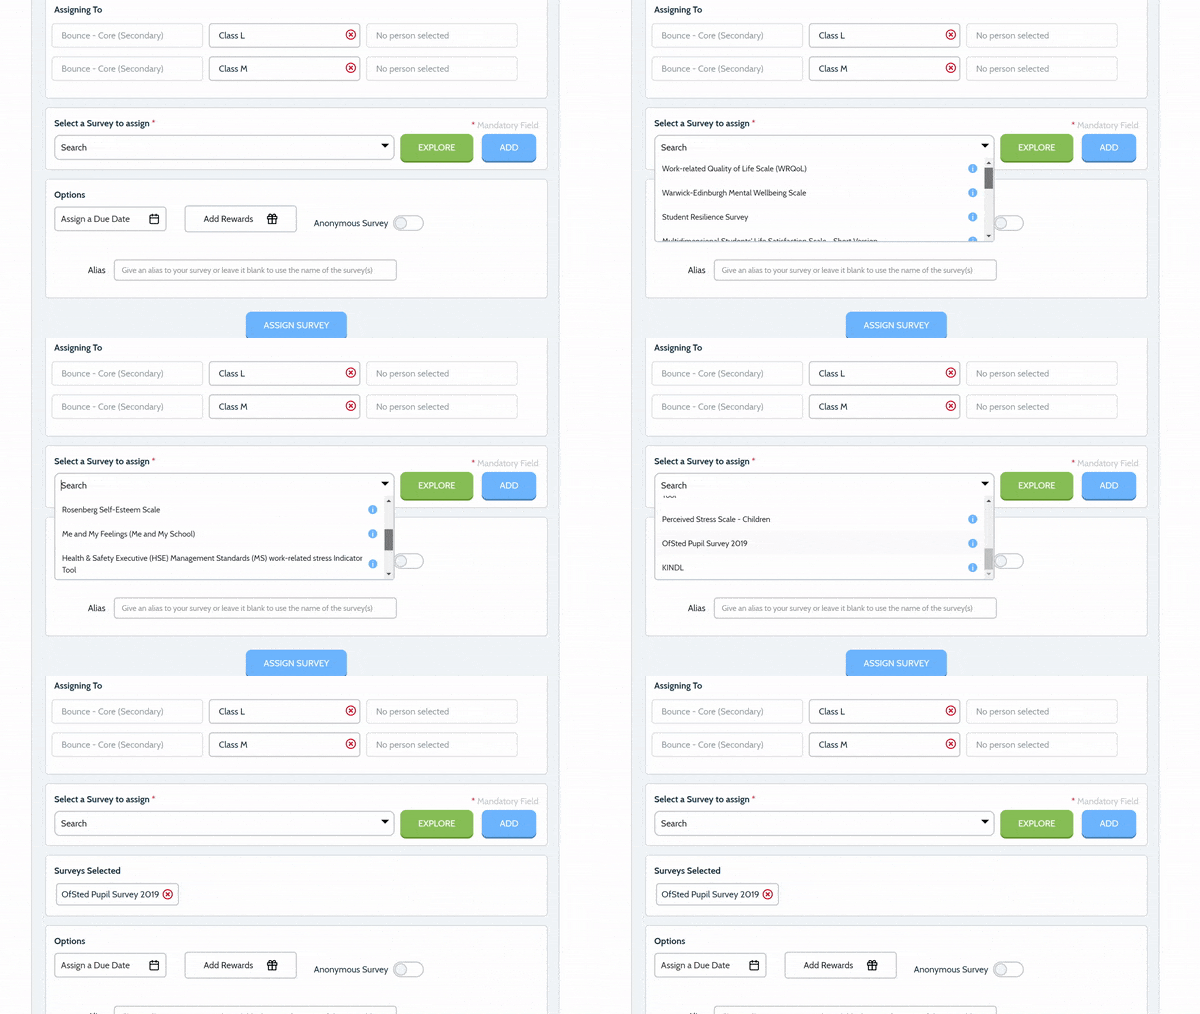
You may not know what questionnaire you want to select at this stage or you might want to assign one you have created yourself (if your package includes this feature!).
In these cases, click
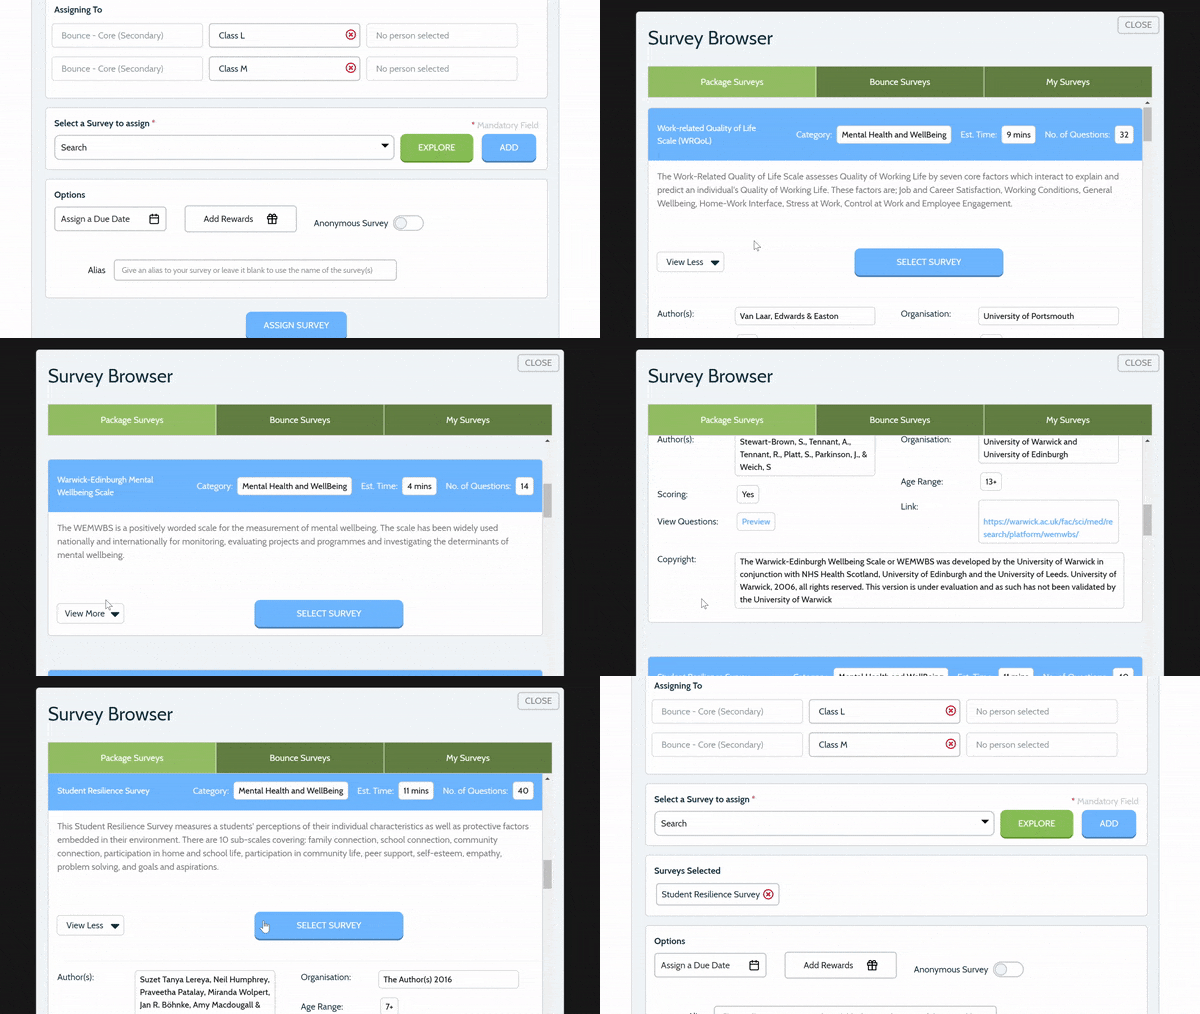
When you have chosen what you want to assign, make sure it is listed under Surveys Selected before continuing. If it's not, click
In the same way you can add multiple classes, you can assign multiple questionnaires in one go. Simply
Options
When you have decided who and what to assign, you are ready to choose some options that go along with the survey. There are a few options you can choose:

Assign a Due Date. Select a date when this survey is due using the date picker. You must do this for any survey you are running!
Add Rewards. Attach badges and house points to your survey to award your users a bit of kudos. If you are attaching some house points, the value/number you enter is attached per user. So if you are running a survey with 100 users and assign a housepoint of 1 there will be a total of 100 points available!
Anonymous Survey. By default, this option is set to "off". This means that when you're users have completed a survey, it is visible by a Bounce administrator. Depending on the survey, you may want to "enable" this option so your users can respond to the questions anonymously. If you do this, you will not be able to trace the results back to a specific pupil.
Alias. Using an Alias as part of your survey will masquerade the real name of the questionnaire. For example, if you do not want to share that the questionnaire you have assigned is the "Student Resilience Survey", you may use an alias instead like "Student Survey". When a pupil is completeing the survey, they will only see the alias you have specified - e.g. "Student Survey". Leaving this field blank will use the name of the questionnaire.
Confirming
Once you have selected everything as above, you are ready to assign the survey to the selected users! Click
 Navigation