 Navigation
 Introduction
This article explains how you Bounce Together assigns usernames and password to users. This article covers your pupils, it does not detail the administrative logins, which work slightly differently.
Pre-Requisites
In order to allocate usernames and passwords to the records on your platform you must first have:
- Added pupils to your Bounce platform
- Logged in as an adminsitrative user
Once you have these two aspects completed, continue with this article.
How logins are assigned
When your users have been added to BounceTogether they are automatically assigned a unique username and password, meaning they are able to access Bounce as soon as they know their login.
When you are logged in to BounceTogether as an administrator, you can print "login cards" that you can hand out to your pupils. These cards look like this:
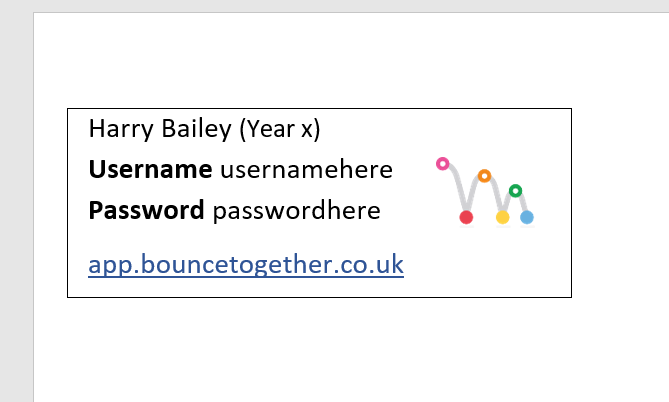
We suggest printing and cutting the login cads out and handing them to your pupils so they can start completing surveys. Alternatively, you could print them onto labels (they are standard size address labels, 30 per sheet) and stick them into their planner/diaries.
Generating Login Cards
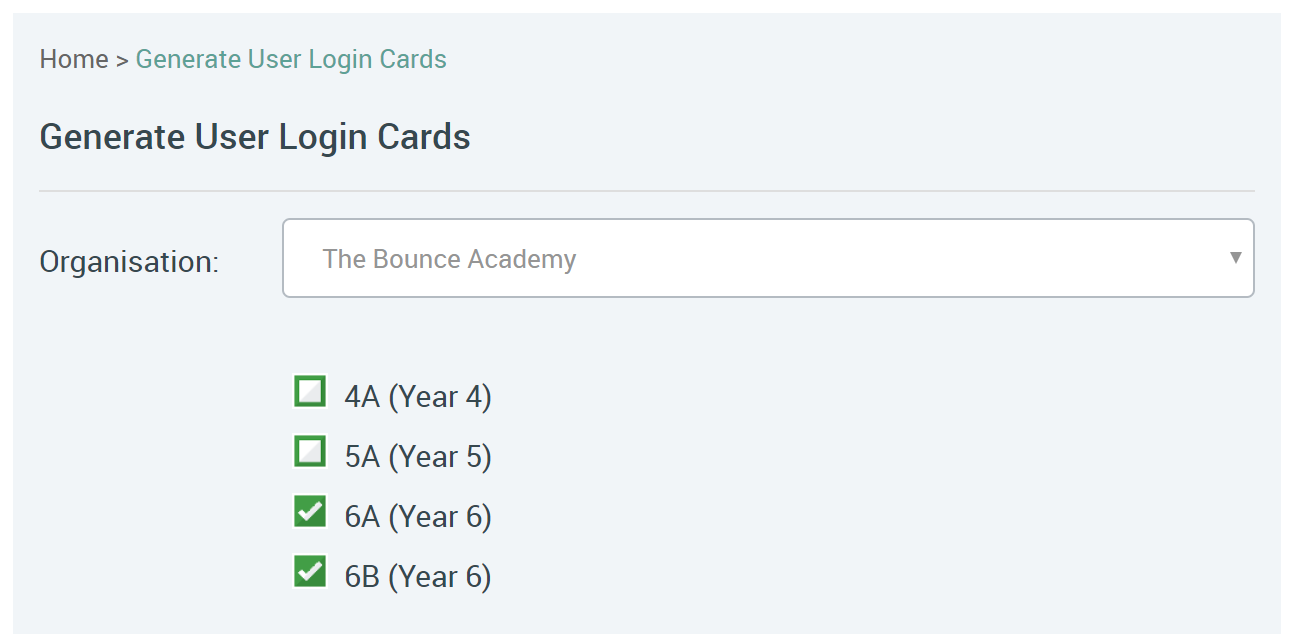
- Login to Bounce and click Enrolment / Generate User Login Cards from the top menu. If you don't see this menu, you probably don't have permission to do this so you will need to check with your Bounce admin!
- On the next screen, you will see a list of groups that you have permission to access. Select/tick those that you want to generate the login cards for
- Click Generate and Bounce will produce a PDF document for each class you have selected. This will be downloaded in your browser.
- You can then print the document out and hand them out to your pupils